|
|
|
|
|
|
|
|
|
 Posted: Sat Jan 10, 2015 11:39 pm Posted: Sat Jan 10, 2015 11:39 pm
This thread is dedicated to wig tutorials. This includes wig styling, dying, care, and transportation.
|
 |
|
|
|
|
|
|
|
|
|
|
|
|
|
Posted: Sat Jan 10, 2015 11:41 pm
Before jumping into the tutorials, here's a quick synopsis of different types of wigs.
As the cosplay hobby expanded, so did the detail and work that goes into making cosplays. A large part of cosplay is the cosplay wig. Cosplay wigs differ from beauty wigs (wigs that people will wear for every-day use) in a variety of ways. First, cosplay wigs tend to be less expensive than beauty wigs and are generally made of synthetic fibers rather than human hair. The wig fibers, especially those designed for spiking, are usually a bit rougher, allowing them to hold their shape better. At this point I should mention that there are different types of natural fibers than human hair. Some cosplayers use horse hair, yak hair, silk, or wool in their wigs. These fibers will have a more natural look and sheen, but tend to be out of most cosplayers' budgets.
Just as there are different types of fibers, there are also different types of wig weaves. Most cosplayers utilize an open-cap wig, which has wefted hair (hair sewn into the wig cap in rows), and leaves gaps between the rows. This is the most common, least expensive cosplay wig. This works well for straight styles, but can show the wig cap if the hair is styled in a pony tail or is spiked. The second type of wig is a full-cap wig, which covers the whole head without leaving gaps. This is good for elaborate hair styles, but tends to be more expensive. A hand-tied wig is a type of full-cap wig, where wig fibers are hand-sewn onto a full-mesh cap. This gives a very realistic look, but can be very time-consuming to do. These are usually the most expensive type of wig, but are excellent for close-up camera look.
|
|
|
|
|
|
|
|
|
|
|
|
|
|
|
|
|
|
Posted: Sat Jan 10, 2015 11:42 pm
|
|
|
|
|
|
|
|
|
|
Posted: Sat Jan 10, 2015 11:44 pm
Here's a basic wig 101 tutorial I wrote up. It goes over the basics. Stay tuned for more advanced spiking tutorials! Wigs 101
|
|
|
|
|
|
|
|
|
|
|
|
|
|
|
|
|
|
Posted: Sat Jan 10, 2015 11:46 pm
Here's a quick rundown of how to use different types of wigs.
|
|
|
|
|
|
|
|
|
|
|
|
|
|
|
Posted: Sat Jan 10, 2015 11:48 pm
This is a good tutorial on extending a wig's hairline. I used this for my friend's Let wig from Rave Master, and it worked pretty well. Just be sure to schedule a lot of time and patience for this technique!
|
|
|
|
|
|
|
|
|
|
|
|
|
|
|
|
|
|
Posted: Sun Jan 11, 2015 2:25 pm
I don't have extensive experience dying wigs, but here are some techniques that my cosplay buddies use: There's a quick dying overview here and here. Sharpie Dying
Sharpie dying is one of the most used methods for dying wigs. It's inexpensive and holds its color pretty well. Fabric DyeThis method seems to work best with light-colored fibers. Dying with FW InkI haven't seen this method used quite as much as the others, but the results I've seen have been pretty good. This works best for dying a wig a dark color. Black sharpies have a purple base, so the wig doesn't turn a true black.
|
|
|
|
|
|
|
|
|
|
|
|
|
|
|
Posted: Fri Jan 23, 2015 12:14 am
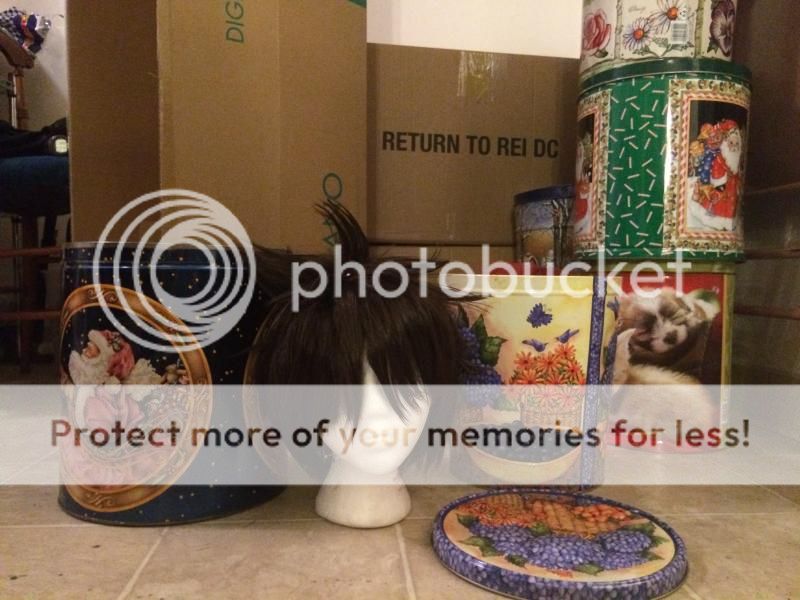
I'm in the process of moving, and I figured that I'd share my favorite way to transport styled wigs: popcorn tins (this was my mom's brilliant brainstorm). There's a few different sizes of popcorn tins, and you can usually get them really cheap at thrift stores.
|
|
|
|
|
|
|
|
|
|
|
|
|
|
|
|
|
|
|