Welcome to Gaia! ::

The Newbie Supporting and Training Guild

Back to Guilds

The NSTG's mission is to provide a safe and educational environment for the fostering of newbies to productive Gaians. 

Tags: Guide, Support, Games, Newb, Help 

Reply ☆ Resources
Garage, Cars, and Rally - Complete Guide

Quick Reply

Enter both words below, separated by a space:

Can't read the text? Click here

Submit

Daypaw

Hardened Member

PostPosted: Sat Jan 25, 2014 12:28 pm


Garage, Cars, and Rally
A Complete Guide


PostPosted: Sat Jan 25, 2014 12:29 pm


Introduction


Welcome to Garage, Cars, and Rally - Complete Guide!

This guide will cover the basics of your first car and customization, through rally and the racing minigame. There are pictures throughout- just click 'Show Spoiler' to see them.
This is for the original Rally.


Table of Contents

Header
Intro
Your Garage & Getting Started
Types of Cars
Rally
Racing
Closing Notes & Cautions


Daypaw

Hardened Member


Daypaw

Hardened Member

PostPosted: Sat Jan 25, 2014 12:37 pm


Your Garage


Your garage is the central hub for all things relating to your cars. From here, you can customize your cars and choose which ones you wish to use in Rally.

You can have 3 cars in your garage at any given time, though you may own as many as you like.

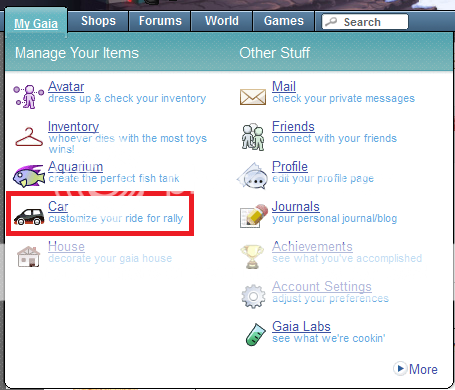
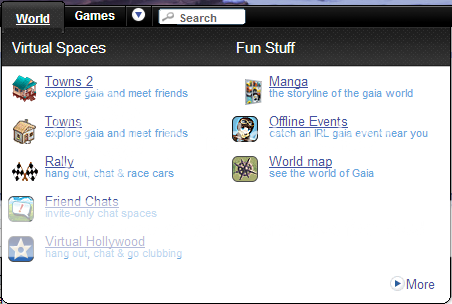
First, you'll need to get to your garage. You can get there by hovering over your 'My Gaia' link, and then selecting 'Car' from the menu that drops down.

User Image


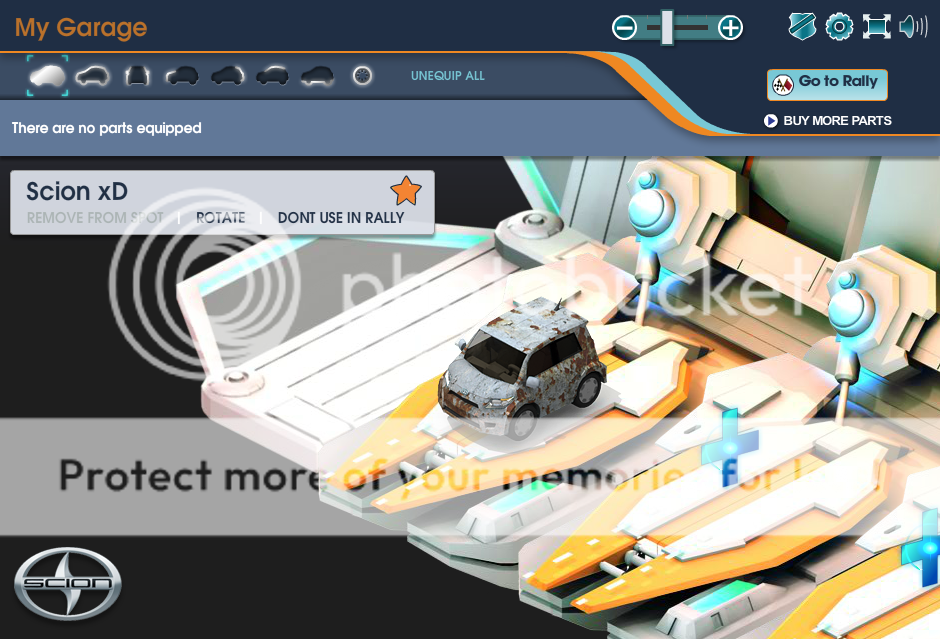
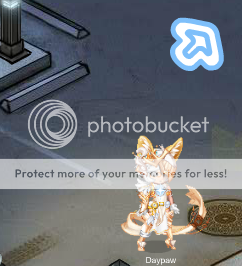
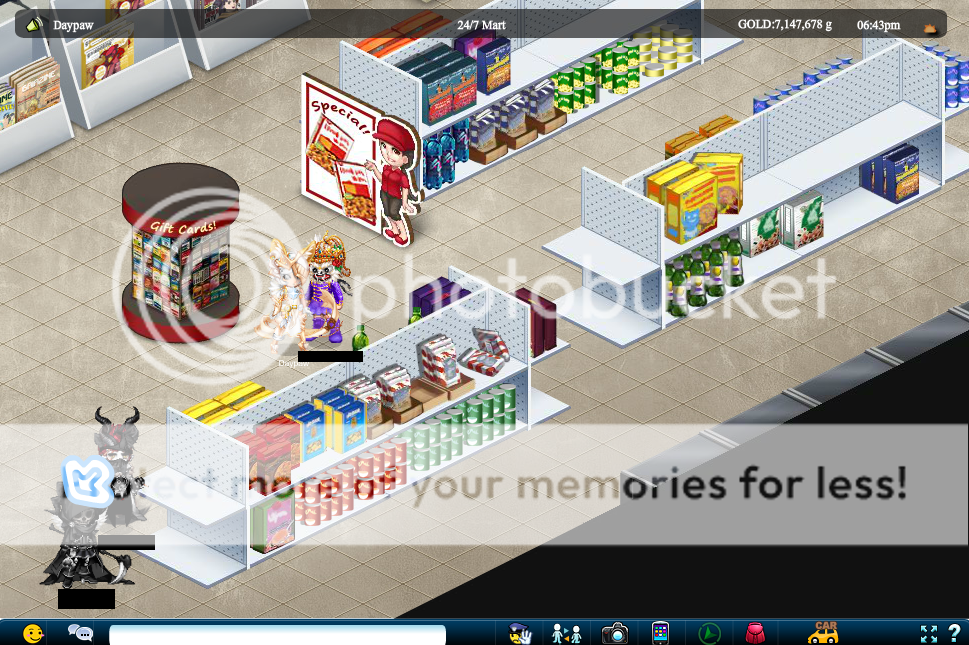
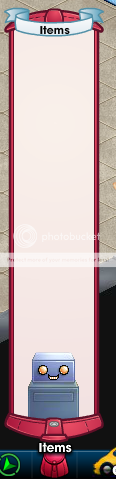
Clicking on this will take you to your garage- it will look like this:

User Image


When you join, you will be given one free car automatically- this is the car that you will see parked in your garage. These freebies are great starter cars- they'll be great for learning the basics of Rally and customizing, and if you decide that cars are not for you, you won't have to invest as much as if you purchase an entire car and build it up from scratch.

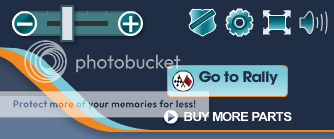
You'll notice some options along the top right of the garage screen-

User Image


The -/+ option controls your zoom and allows you to move the camera closer to or further from your cars.
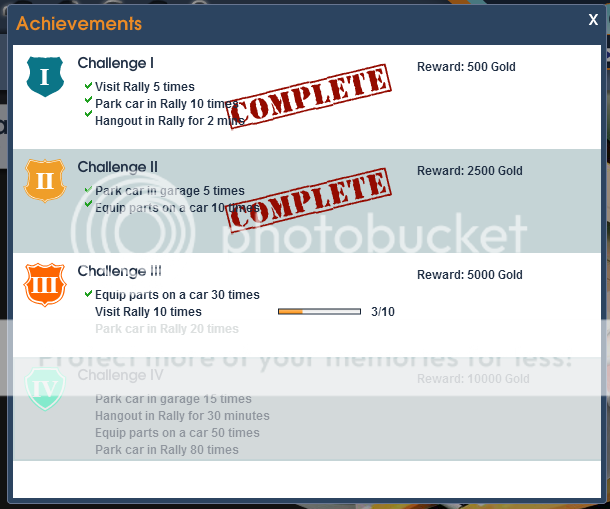
The shield icon brings up a list of your available and completed achievements relating to Rally. These are simple tasks that you will complete in time as you play with your car and visit Rally.
User Image

The gear is your settings for the garage- presently, it is only used to toggle quality settings.
The screen option allows you to view your garage in full-screen mode. You can press Escape on your keyboard to exit full-screen mode.
The speaker option at the far right allows you to enable and disable the background music and sound effects.

The options below will take you directly to Rally or to Sam's Body & Parts for shopping.

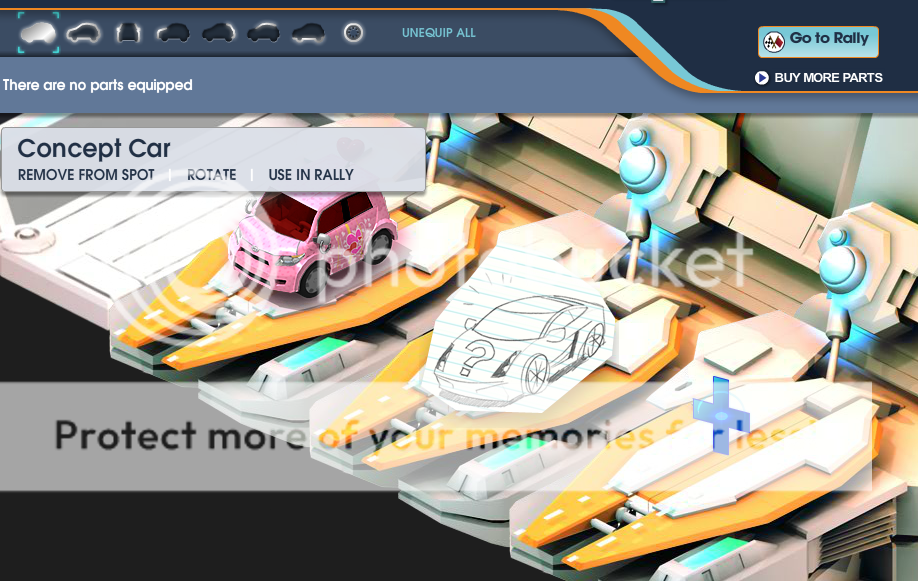
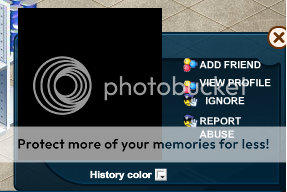
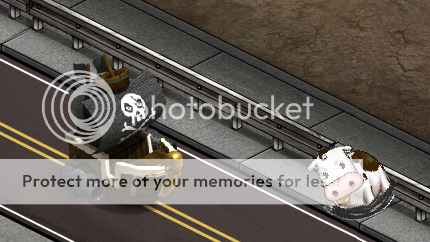
The options to the left where the type of car you have are these:
User Image

User Image


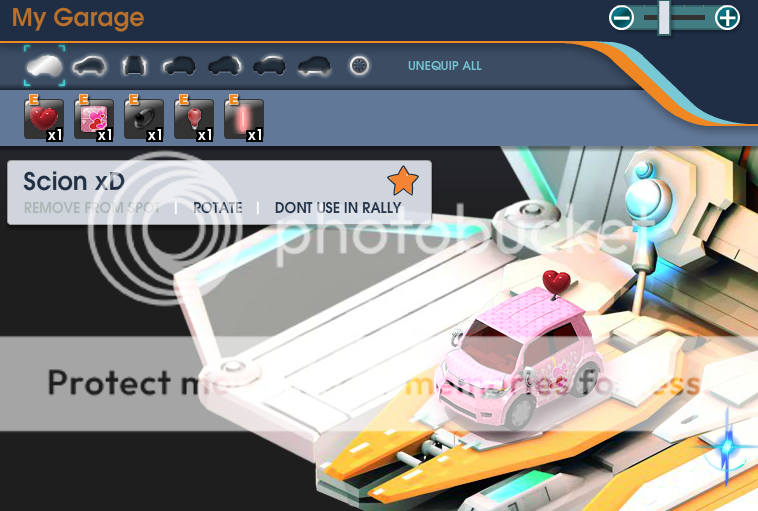
The images above show the toggled options relating to using the car in Rally- you can only use one at a time, so your active car (the one with the star) is the one that will appear when you place a car in Rally.

The option to 'Remove From Spot' will take the car from your garage and put it back into your inventory.
The 'Rotate' option will turn your car sideways in it's spot in your garage.


Getting Started

In order to customize your car, you'll need to get some goodies to put on it!

Along the top left of your screen, you will see options that correspond to different parts of your car and will bring up options for what you can equip to your car. If you do not have anything to equip, you will instead get a link to Sam's Body & Parts where you can find items to equip. You can also click the link to the right which will take you there, as well.
User Image


A quick note about Sam's shop-
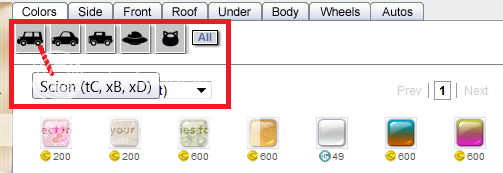
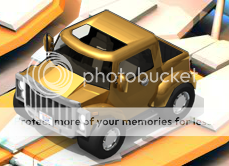
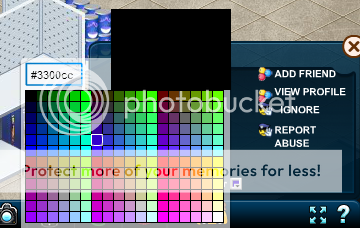
There are options under the main tabs that once functioned as a filter to ensure that you were only seeing options that would fit on your car, though at present time, they seem to be broken. As the car being used in this tutorial was the freely provided Scion xD, this option would be the one that we would use--
User Image


--though, as clicking these currently wipes all items from the shop interface, I will show you another means of identifying what wil and will not work for your car.

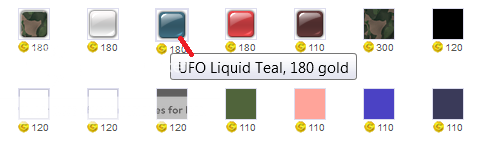
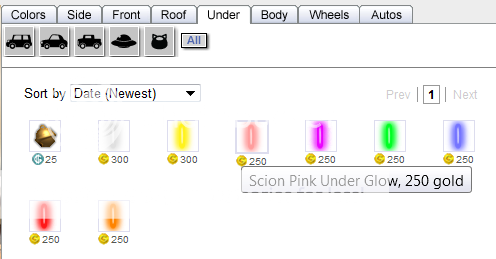
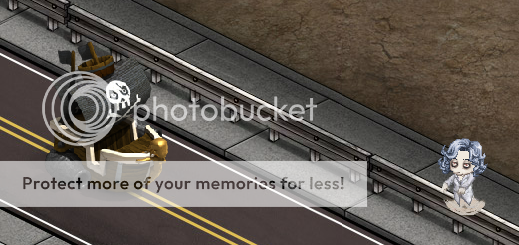
Some of the items have a special header before the item name, such as this one:
User Image


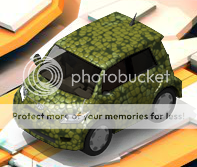
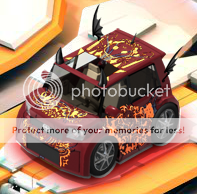
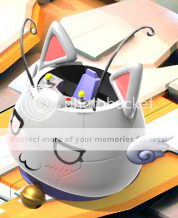
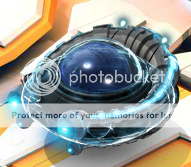
What this is telling us is that this paint is for the UFO only and will not work on any other car. You can see these headers by hovering over the item or clicking on it to view it's information before purchasing. An item designed for the UFO will not work with any other vehicles- just as those headed Possum will only work on the possum, Scion will only work with the Scion vehicles (CT, XD, or XB), Musculero will only work with the Musculero, and Kiki will only work with the Kiki car.

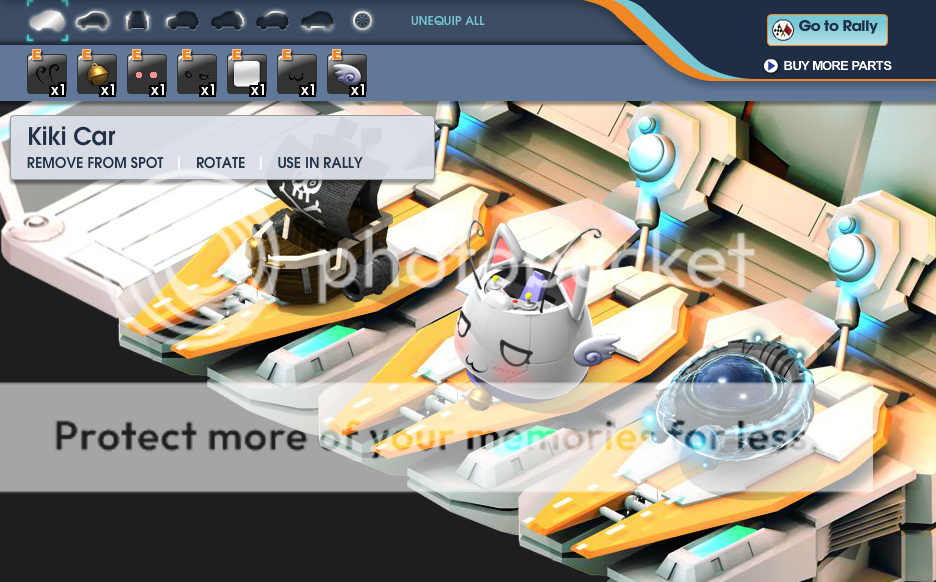
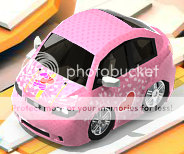
Here is another example of a specific header, for the Kiki car-
User Image


Some items have no header identifying which cars that they will work for. These items will work for all standard vehicles- which is everything but the UFO, Kiki, or Concept Car.

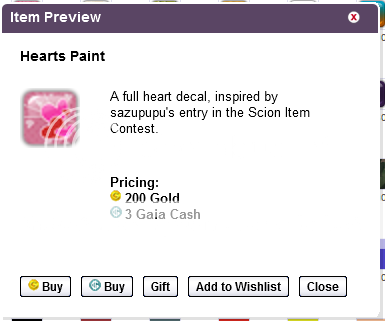
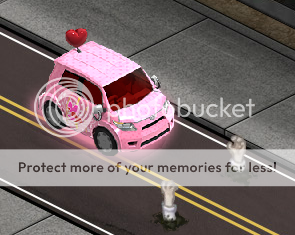
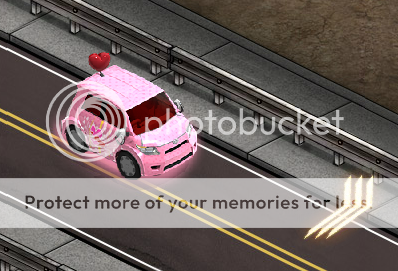
For this example, we'll use the heart paint--
User Image


Once you are sure that it will work for your vehicle, you can purchase it.

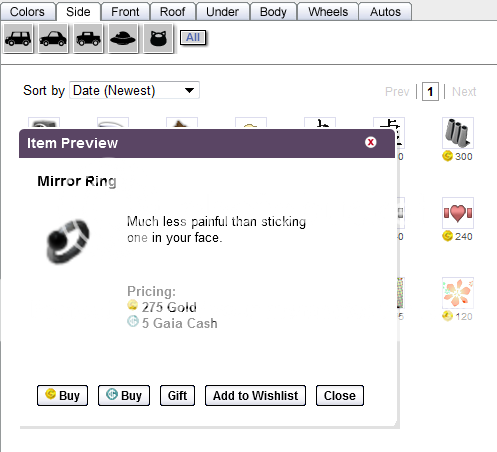
When looking at other items, be sure to check their headers as well. Not all decorative items will work with all vehicles, just as not all paints will work.
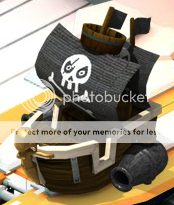
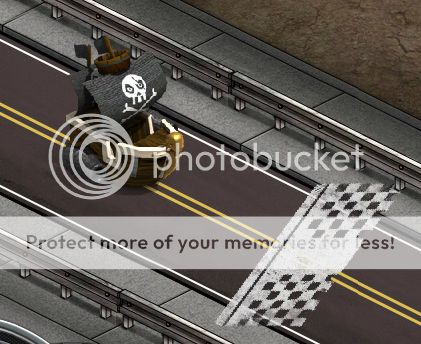
This decal, for example, only works with the Possum-
User Image

While this one works with all standard cars- this is what we will go with for the tutorial.
User Image


Some item sets are limited more than others, such as the items that go under the car. Presently, the only options are a bell for the Kiki car and neon lights that can be equipped only to Scion cars.
User Image


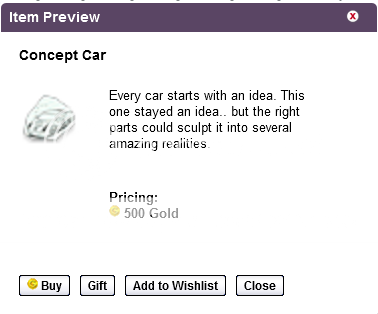
The last tab in the shop is where you can purchase other vehicles.
User Image


You can click on each one to learn a bit about it, and then make your choice. Some are more expensive than others, while others are more affordable.
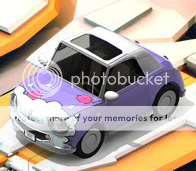
For this example, we will go with the Concept Car and place it in our garage later.
User Image


Once you have everything that you need, head back to your garage. Click through the different sections and select the items that you want to equip. Items for that portion of your car will now appear in place of a link to the shops-
User Image


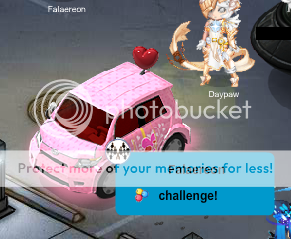
As you add items, you will see your car below changing. Once you are finished, you can see a full list of everything equipped on the leftmost option in the equip section.
User Image


And, just like that, you have a customized car!

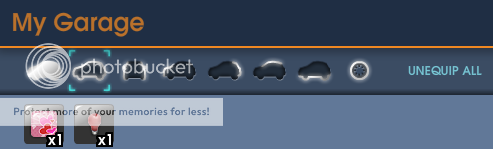
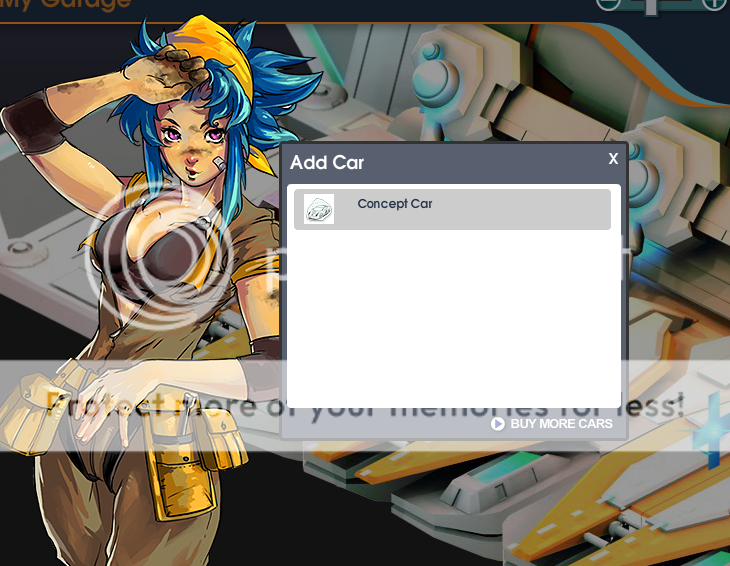
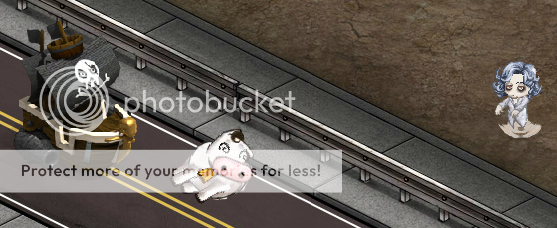
To add other cars that you have purchased, click one of the spinning plus signs in the empty spaces-
User Image


This will bring up Sam asking which of your cars you wish to place. Since we got the Concept Car while shopping, we can place it here.
User Image


Your car will appear in the empty space. You can dismiss it by clicking 'remove from spot' if you want to put a different car there, or select 'use in Rally' of you want this to be the car that you race with and park in Rally.
User Image


With some effort and time, you can collect any number of cars and customize them to your liking.
User Image


PostPosted: Sat Jan 25, 2014 12:38 pm


Types of Cars


Scion Cars

As Rally was initially brought about with a sponsorship by Scion, you will find that many of the cars and accessories for the cars are Scion themed or named.

There are three Scion vehicles-

The Scion xD;
User Image


The Scion xB;
User Image


And the Scion TC;
User Image


All three can equip non-specific items as well as those with a Scion header.


Other Cars

There are two standard, non-Scion cars. These are the Possum and the Musculero. They can equip items that are non-specific, in addition to those created specifically for them. The Possum can wear Possum items, and the Musculero can wear Musculero items- but they can not wear items designed for the Scion, UFO, or Kiki.

The Possum;
User Image


And Musculero;
User Image


Special Cars

The special cars are the Kiki and the UFO- both can wear ONLY items designed specifically for them. Neither can wear the items with no special header- the Kiki will only work with Kiki items, and the UFO will only work with UFO items.

The UFO is available for Gold at a larger sum than the other vehicles, while the Kiki is available only through use of Gaia Cash.

Kiki;
User Image


And the UFO;
User Image


The Concept Car

The concept car is an oddity- the items to customize it can not be purchased through the shop. Presently, the only means of customizing it are those that can be obtained through the Marketplace or from other users looking to sell the skins.

There are three variants- the tanks, the logins (these are the mech-looking heads that you will see in Rally), and the pirate ships. Unfortunately, as they were only available for a limited time through the Fortune Egg CI, many have skyrocketed in price. Those wishing to invest in a Concept Car will need to choose their desired skin wisely as they will likely cost quite a bit.

Tank - Night Camo
Tank - Woodland Camo
Tank - Urban Camo
General Tank - Night Camo
General Tank - Woodland Camo
General Tank - Urban Camo
Login Gold - Driller
Login Red - Driller
Login Black - Driller
Login Blue - Driller
Login Blue
Login Black
Login Red
Login Gold
Pirate Ship
Pirate Ship - Maiden
Pirate Ship - Artillery
Pirate Ship - Commander

The below example is a Concept Car wearing the Pirate Ship - Commander skin.
User Image


Daypaw

Hardened Member


Daypaw

Hardened Member

PostPosted: Sat Jan 25, 2014 12:39 pm


Rally


To reach Rally, hover over 'World' in your toolbar- Rally will be in the dropdown menu.
User Image


Click to enter. There are multiple servers for Rally up and running at any given time to prevent overcrowding - you will automatically be deposited into one, it is unfortunately not possible to choose your destination making it somewhat difficult to meet up with friends here if they land somewhere different than you.

You will land in the minimart lot. For the privacy of other Rally-goers, I have removed their chat and usernames from all screenshots.
User Image


You will find a few exits to other areas of Rally. The first is in the upper-right corner of the screen.
User Image


Stepping on this arrow will bring you to the backlot-
User Image


To return to the minimart lot, simply step on the arrow to the left.
User Image


Back in the minimart lot, the next exit is in the top middle- leading into the minimart.
User Image


Inside the minimart is unfortunately not particularly interesting, but it is one of the least crowded areas of the Rally.
User Image

User Image


To get back to the minimart parking lot, simply exit through the bottom left corner.
User Image


Just to the right of the minimart entrance, you will see a post with navigation buttons on it.
User Image


Currently, the only working option in this post will call a taxi that will take you to Virtual Hollywood.
User Image


To park your car, simply find any open parking space and click on it. When you hover over a space, it will have an orange border. This means you can park here, and this will allow others to challenge you to races.
User Image


Rally Options

There are several control options in Rally - I will give an overview of each of them.

The first, on the top left near your username -
User Image

-is a small megaphone that can be used to enable or disable sound.

Most of your options, however, are here along the bottom:
User Image


From left to right, they are as follows.

The yellow smiley face will bring up your emoticon panel, which will allow you to make several emotes above your avatars head.

The small chat bubbles will open your chat log, which will allow you to view discussion that has recently happened in the room you are in.

The long white box is your chat input- where you type what you wish to say to others in the room.

The police-man icon brings up a report form, for if you have encountered anything that violates the TOS.

The standing/sitting figures toggle whether your avatar is standing or sitting down.

The camera takes a screenshot, and brings up an option asking you where you would like to save the image on your computer.

The PDA button will bring up your own personal PDA-
User Image

This is used predominantly for navigating quickly to other areas, such as your home or to places like Towns. If you own your own neighborhood in Towns, you can also access your landlord options from here. You can also access friends lists, and your favorited locations.

The small compass icon is Pathfinding- this allows easy point-and-click movement.

The backpack option brings up your inventory of gathered items. As there are no items to gather in Rally, this feature is more useful in Towns.
User Image


The Car option allows you to participate in a practice race if you do not yet feel up to taking part in a real race.
User Image


The 4 arrows on the far right will allow you to enter full-screen mode.

The question mark will take you directly to the Gaia Help Center.

At the lower right of your screen, you may see this little arrow-
User Image


Clicking on this will open the controls related to interacting with other users. When you click on another user, this opens automatically. You can dismiss it by clicking the 'X' in the menu.
User Image


From here, you can add a friend, view someones profile, ignore a user, or submit a report.

The 'History Color' option at the bottom allows you to choose the color that someones username will appear in the chat log. This is particularly useful if you are watching for messages from specific people.
User Image


PostPosted: Sat Jan 25, 2014 12:40 pm


Racing


Racing is a minigame accessible from Rally, and in a lesser scale, from Virtual Hollywood.

The object of the game is to beat an opponent to the finish line, but the road to the finish is filled with obstacles that you will either have to dodge or smash into.

For this tutorial, I'll be racing against one of my mules.

To access the game, first find a parked car that you want to challenge. When you hover over it, a set of flags will appear- click on it, and the option to challenge comes up.
User Image


When you click this option, the challenge goes to the owner of the car. They can accept to initiate the game, or they can reject if they do not want to race you. If you click the challenge button again, you will get an error that you have already issued the challenge.
What you will see if challenging more than once;
User Image

What is seen by the recipient of your challenge;
User Image


If the challenge is rejected, than you can choose someone else to challenge. If it is accepted, you are taken directly to the race game.
User Image


There is only one option here that you can manipulate, which is the accelerator at the bottom left of the screen. To the left of the accelerator button, you will find your speedometer.
User Image


Along the top of the screen, you will find your track guide. This shows where you are on the track, along with what obstacles there are all across the track. The colored marks on the track will tell you what to expect.
User Image

Blue marks indicate ramps.
Green marks indicate UFOs.
Red marks indicate cows.
Yellow marks indicate Zombies.
The white mark at the end is the finish line.

The moving pink line at the top is where your car is, while the moving orange line is your opponent.


How To Race

Press the accelerator to gain speed and progress down the track.Keep an eye on the track guide at the top so that you know what is coming up and how to respond to it.

When you approach an obstacle, a warning sign will flash across your screen.
User Image


The first type of obstacle is the ramp.
User Image

As you near ramps, your speedometer will have a glowing yellow section in the middle. You will need to keep your speed within the yellow in order to clear the ramp and gain a small speed boost. Hitting the ramp too slow or too quickly will cause you to briefly lose control of your vehicle and come to a stop.
User Image


The next obstacle is the UFO. These are easy to avoid- simply slow down a bit and allow them to pass. If they catch you in their beam, you will be lifted off the road and stopped briefly.
User Image


Next are the cows. You can also avoid these by slowing down slightly and allowing them to cross the road. Hitting them will cause you to stop.
User Image


Next are the zombies. SPEED UP! You want to hit these. Hitting these will cause your opponent to stop- they will see zombie arms rise out of the track, which will grab their car and briefly stop them.
User Image

User Image


Lastly, there is the white mark on the track guide. This is the finish line- keep accelerating past it, as the race will actually end a few feet beyond it.
User Image


Additionally, there is one boost that does not show in your track guide at the top of the screen. This is a speed boost- it can appear anywhere on the track, and appears as small golden lines that bounce across the track sporadically. You will either find these very easy to hit, or very difficult to hit. These lines will briefly give you an amazing speed boost.
User Image


It is also possible to encounter multiple obstacles in rapid succession. Be careful to handle them appropriately so that you can quickly move on to the next.
User Image


After the race, you will be taken to a victory screen- both players will see the same screen showing the winner and their vehicle. From here, you can return back to Rally.
User Image


Daypaw

Hardened Member


Daypaw

Hardened Member

PostPosted: Sat Jan 25, 2014 12:41 pm


Closing Notes & Cautions


The best thing to remember is that racing takes practice. You'll need to learn how to quickly pass the obstacles by trying them out for yourself a few times. Don't be afraid to use the practice feature or play against friends first.


A Note on Betting

It is strongly recommended that you exercise caution if another users asks you to bet on a race. There is no guarantee that they will honor their end of the bargain if you win, and engaging in a bet may result in harassment from the other user towards you whether you win or lose.

As a best practice, it is generally encouraged that bets not be accepted and that you not engage with users who insist or refuse to race without a bet.


PostPosted: Sat Jan 25, 2014 12:43 pm


Reserved


Daypaw

Hardened Member


Daypaw

Hardened Member

PostPosted: Sat Jan 25, 2014 12:44 pm


Reserved


Reply
☆ Resources

 
Manage Your Items
Other Stuff
Get GCash
Offers
Get Items
More Items
Where Everyone Hangs Out
Other Community Areas
Virtual Spaces
Fun Stuff
Gaia's Games
Mini-Games
Play with GCash
Play with Platinum